

This is a simple guide that might explain the basic steps of converting a model made in GMAX to a normal picture. From that, it's quite easy to go to Tiberian Sun. Note: All pictures are thumbnails.
I'm using RenX because I was having problems on showing textures with GMAX. So, I also recommend RenX for you...
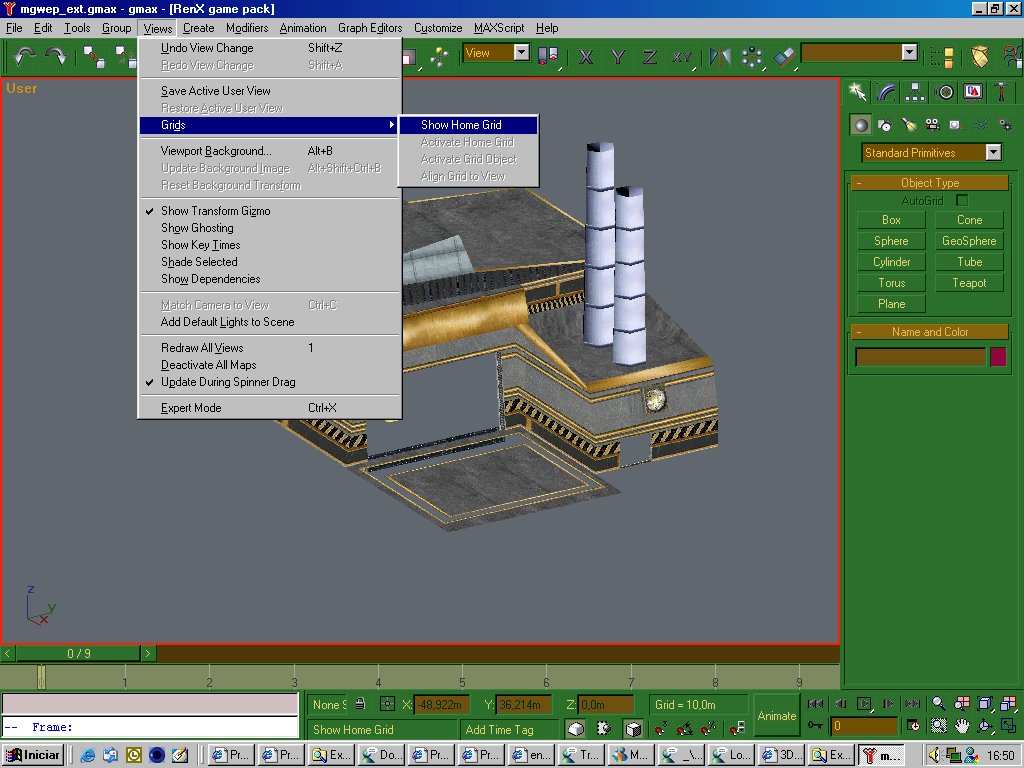
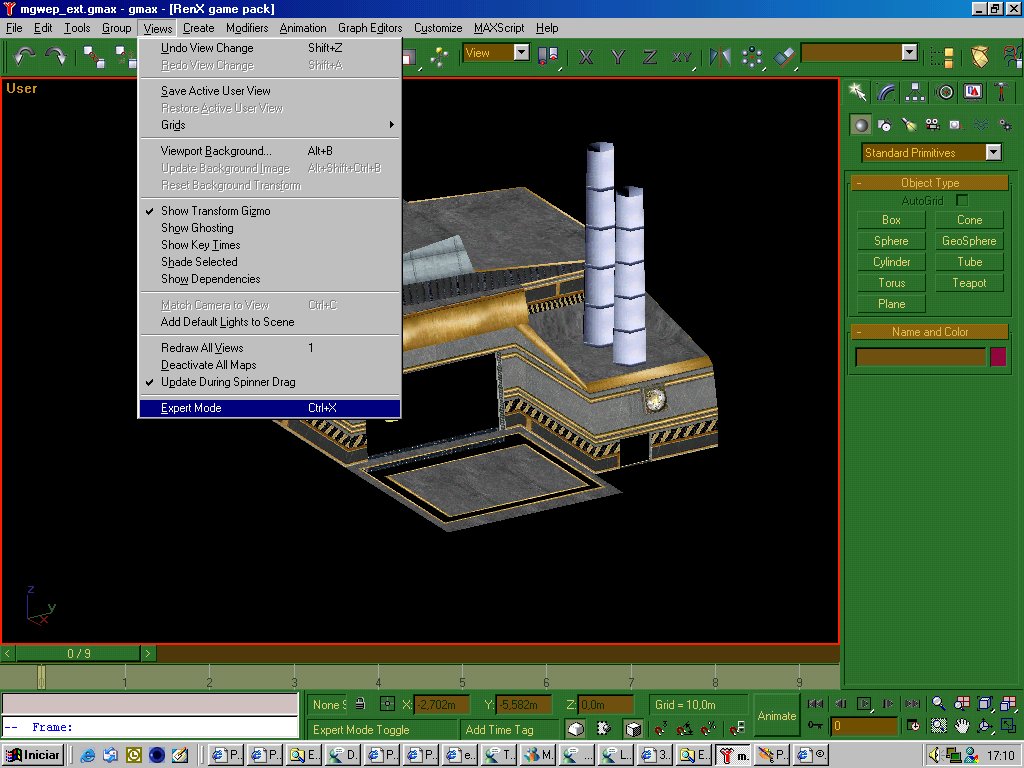
First step: make sure you have the model done and remove the grid. To remove the grid, go to View -> Grids and uncheck Show Grids option as you see in the picture below.
Note: I'm gonna use the Weapons Factory that comes in Renegade Public Tools.
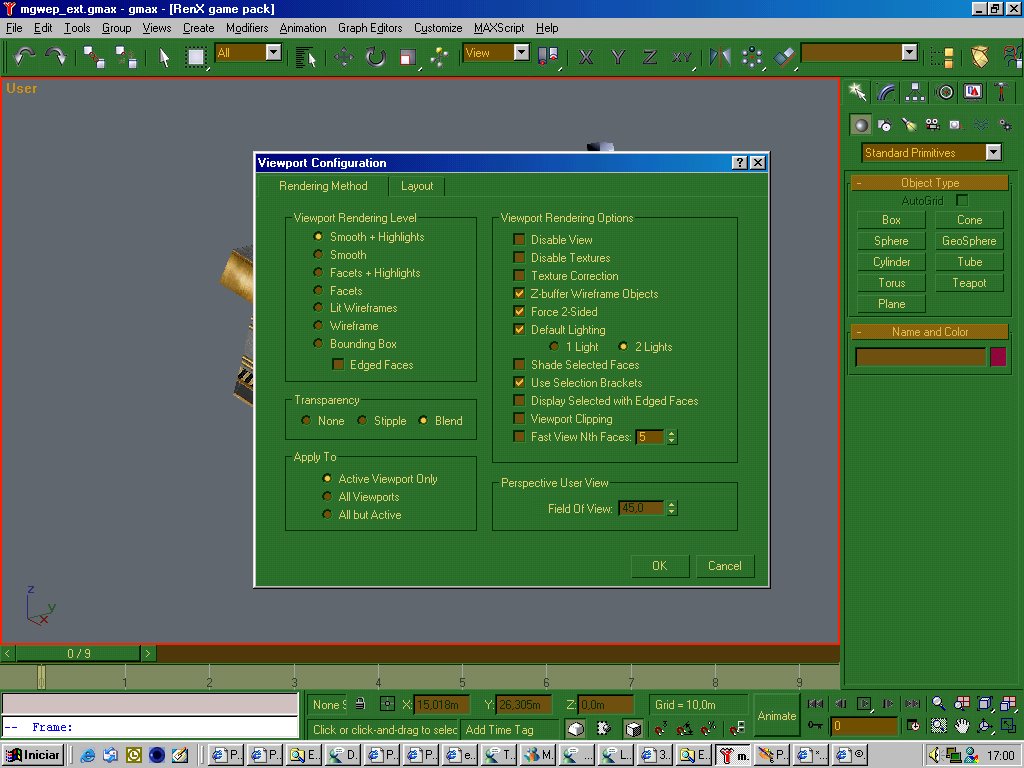
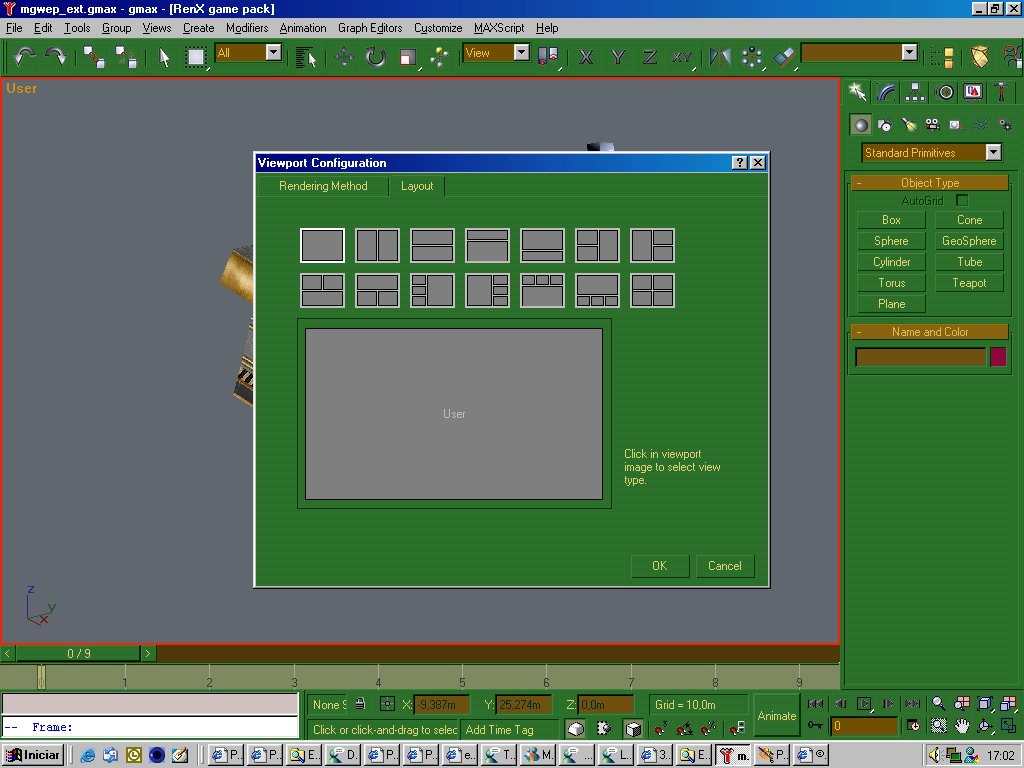
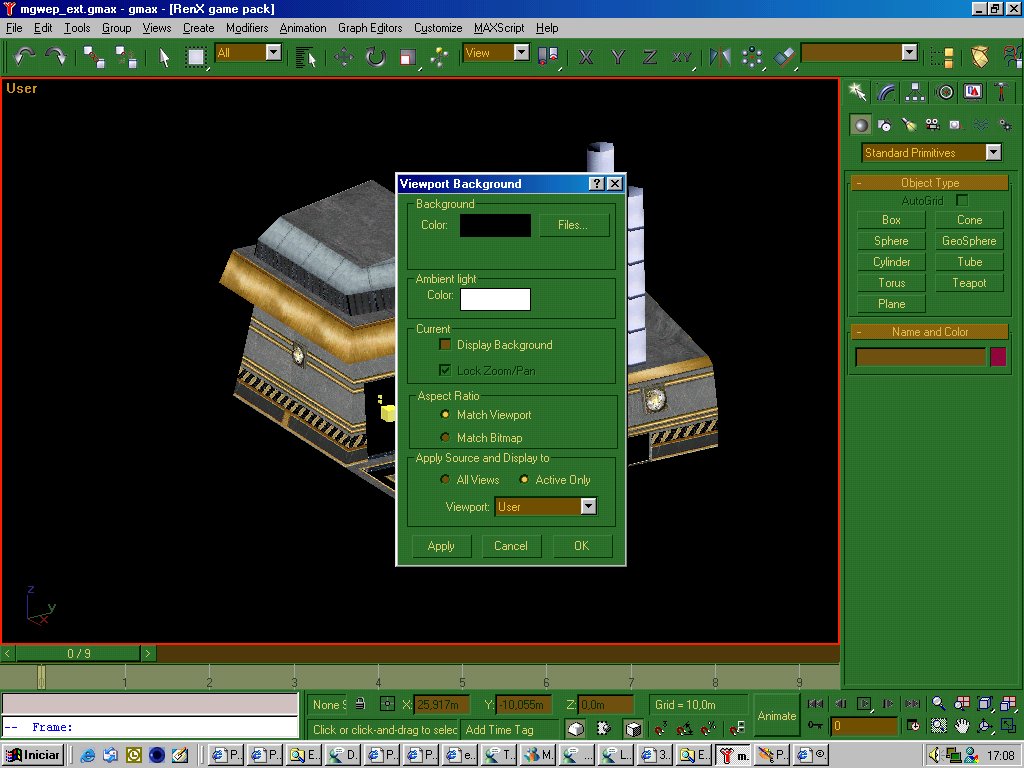
Second Step: Set viewport settings. Go to Customize menu and got to Viewport Configuration. Then, you follow the settings below:
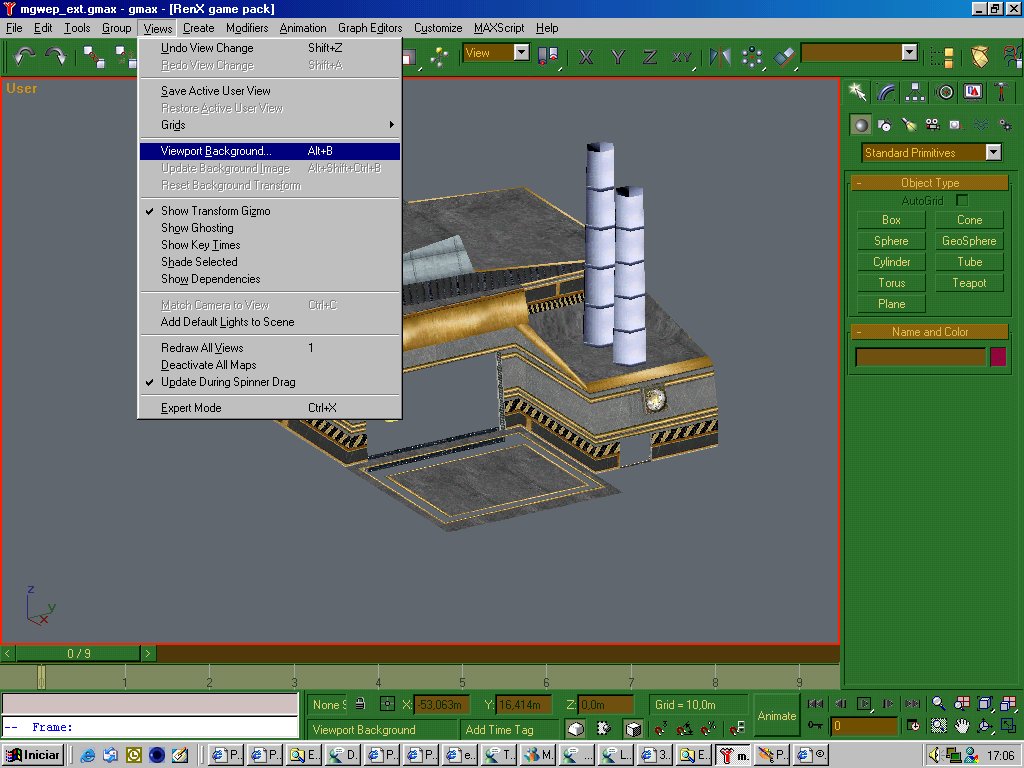
Third Step: Set the background. In Tiberian Sun, the color used is ( the big black: (0,0,0). Red Alert 2 uses blue (0,0,255), I think. Go to View menu -> ViewPort Background and set the color there.
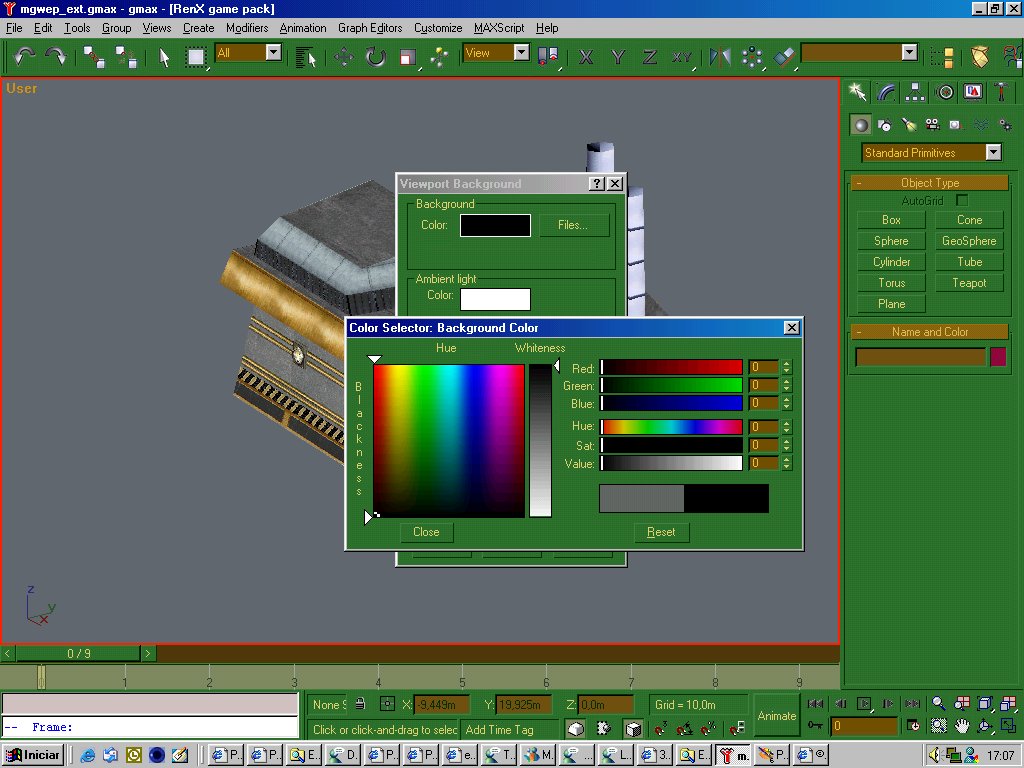
When it's ready, just apply .
.
Fourth Step: You need to adjust the camera to render it in the correct angle. To know the angle of the camera, I suggest you check a similar building and do it by comparison. In my example here, I'm skipping this procedure. If you wanna do it, open Flyby's script and select one of the cameras to create (you may have to switch around to get the right corner u want at the front).
Fifth Step: When you have everything ready, activate the expert mode by following the picture below.
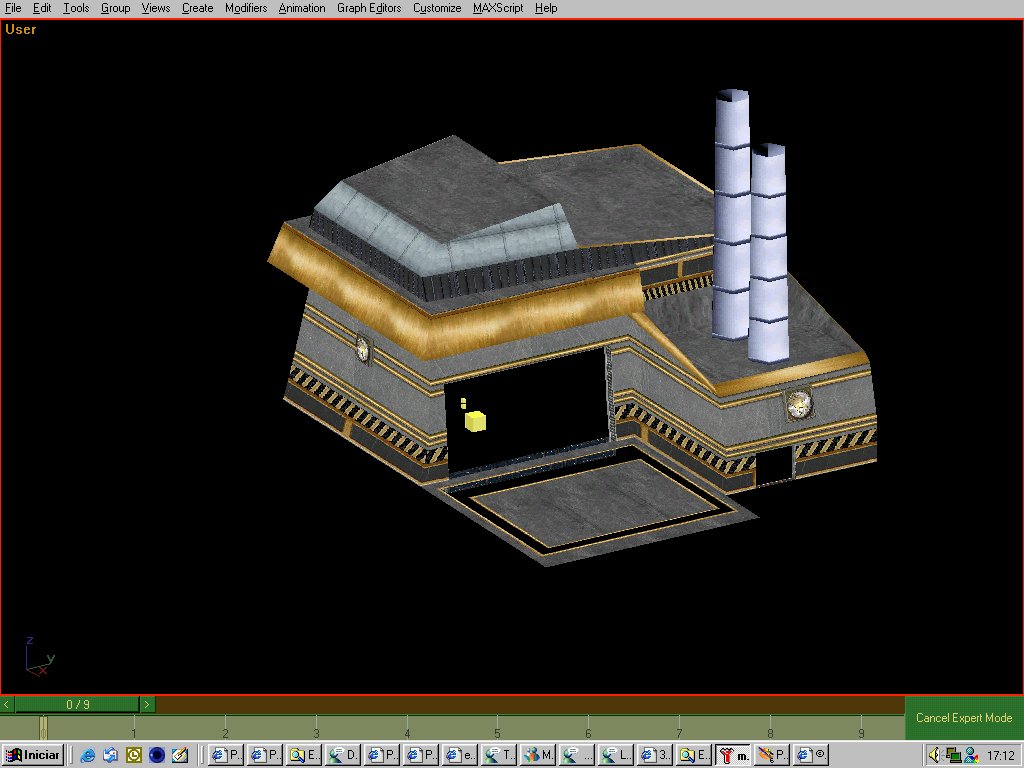
Sixth Step: When you get into the expert mode, feel free to take the screenie. In your keyboard, there is a key written "Print Screen" or "Print Scrn". Just press that and open a graphics program like Paint Shop Pro. Paste the clipboard as image and crop it. You'll have something like this:
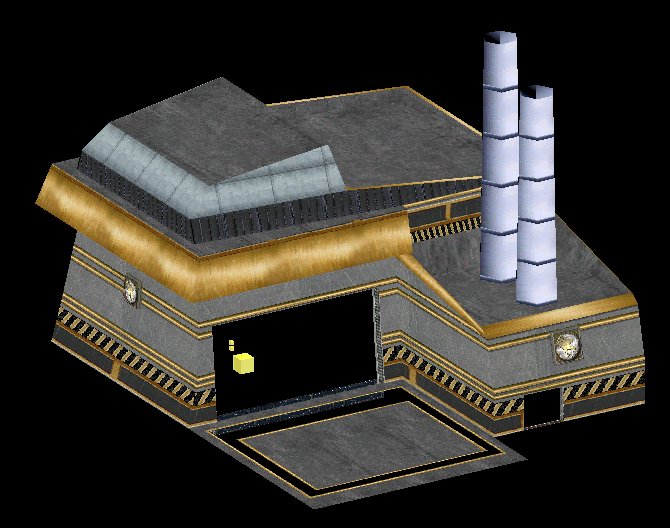
After that, you know what to do: resize, add the desired pallete and use XCC to convert it back. Enjoy it!
I'm using RenX because I was having problems on showing textures with GMAX. So, I also recommend RenX for you...
First step: make sure you have the model done and remove the grid. To remove the grid, go to View -> Grids and uncheck Show Grids option as you see in the picture below.
Note: I'm gonna use the Weapons Factory that comes in Renegade Public Tools.
Second Step: Set viewport settings. Go to Customize menu and got to Viewport Configuration. Then, you follow the settings below:
Third Step: Set the background. In Tiberian Sun, the color used is ( the big black: (0,0,0). Red Alert 2 uses blue (0,0,255), I think. Go to View menu -> ViewPort Background and set the color there.
When it's ready, just apply
Fourth Step: You need to adjust the camera to render it in the correct angle. To know the angle of the camera, I suggest you check a similar building and do it by comparison. In my example here, I'm skipping this procedure. If you wanna do it, open Flyby's script and select one of the cameras to create (you may have to switch around to get the right corner u want at the front).
Fifth Step: When you have everything ready, activate the expert mode by following the picture below.
Sixth Step: When you get into the expert mode, feel free to take the screenie. In your keyboard, there is a key written "Print Screen" or "Print Scrn". Just press that and open a graphics program like Paint Shop Pro. Paste the clipboard as image and crop it. You'll have something like this:
After that, you know what to do: resize, add the desired pallete and use XCC to convert it back. Enjoy it!